In the Inland Empire, a working air conditioner is not a luxury, it is a necessity. When your RV AC stops cooling on a 100-degree day, it can ruin a trip fast. Before you panic, here are the first things to check, and the signs that mean it is time to call a professional.
Start With Power
Air conditioners draw a lot of power. Make sure you are connected to adequate shore power or that your generator can handle the load. Check for tripped breakers at both your RV panel and the campground pedestal. A common cause of a dead AC is simply insufficient power or a tripped breaker.
Check and Clean the Filters
Dirty filters are one of the most common reasons an RV AC struggles to cool. Remove the interior filter and clean or replace it. While you are there, make sure the return air vents are not blocked.
Inspect the Thermostat
Confirm the thermostat is set to cool and set below the current temperature. If you have a digital thermostat, check its batteries and settings. A misconfigured or failing thermostat can prevent the AC from running properly.
Listen and Feel
Turn the unit on and pay attention. Does the compressor kick on? Is the air coming out cool, just not cold, or warm? Strange noises, weak airflow, or warm air all point to specific problems that help a technician diagnose the issue.
- Warm air blowing: possible compressor or refrigerant issue
- Weak airflow: dirty filter, failing fan, or blocked vents
- Unit short-cycling: electrical or capacitor problem
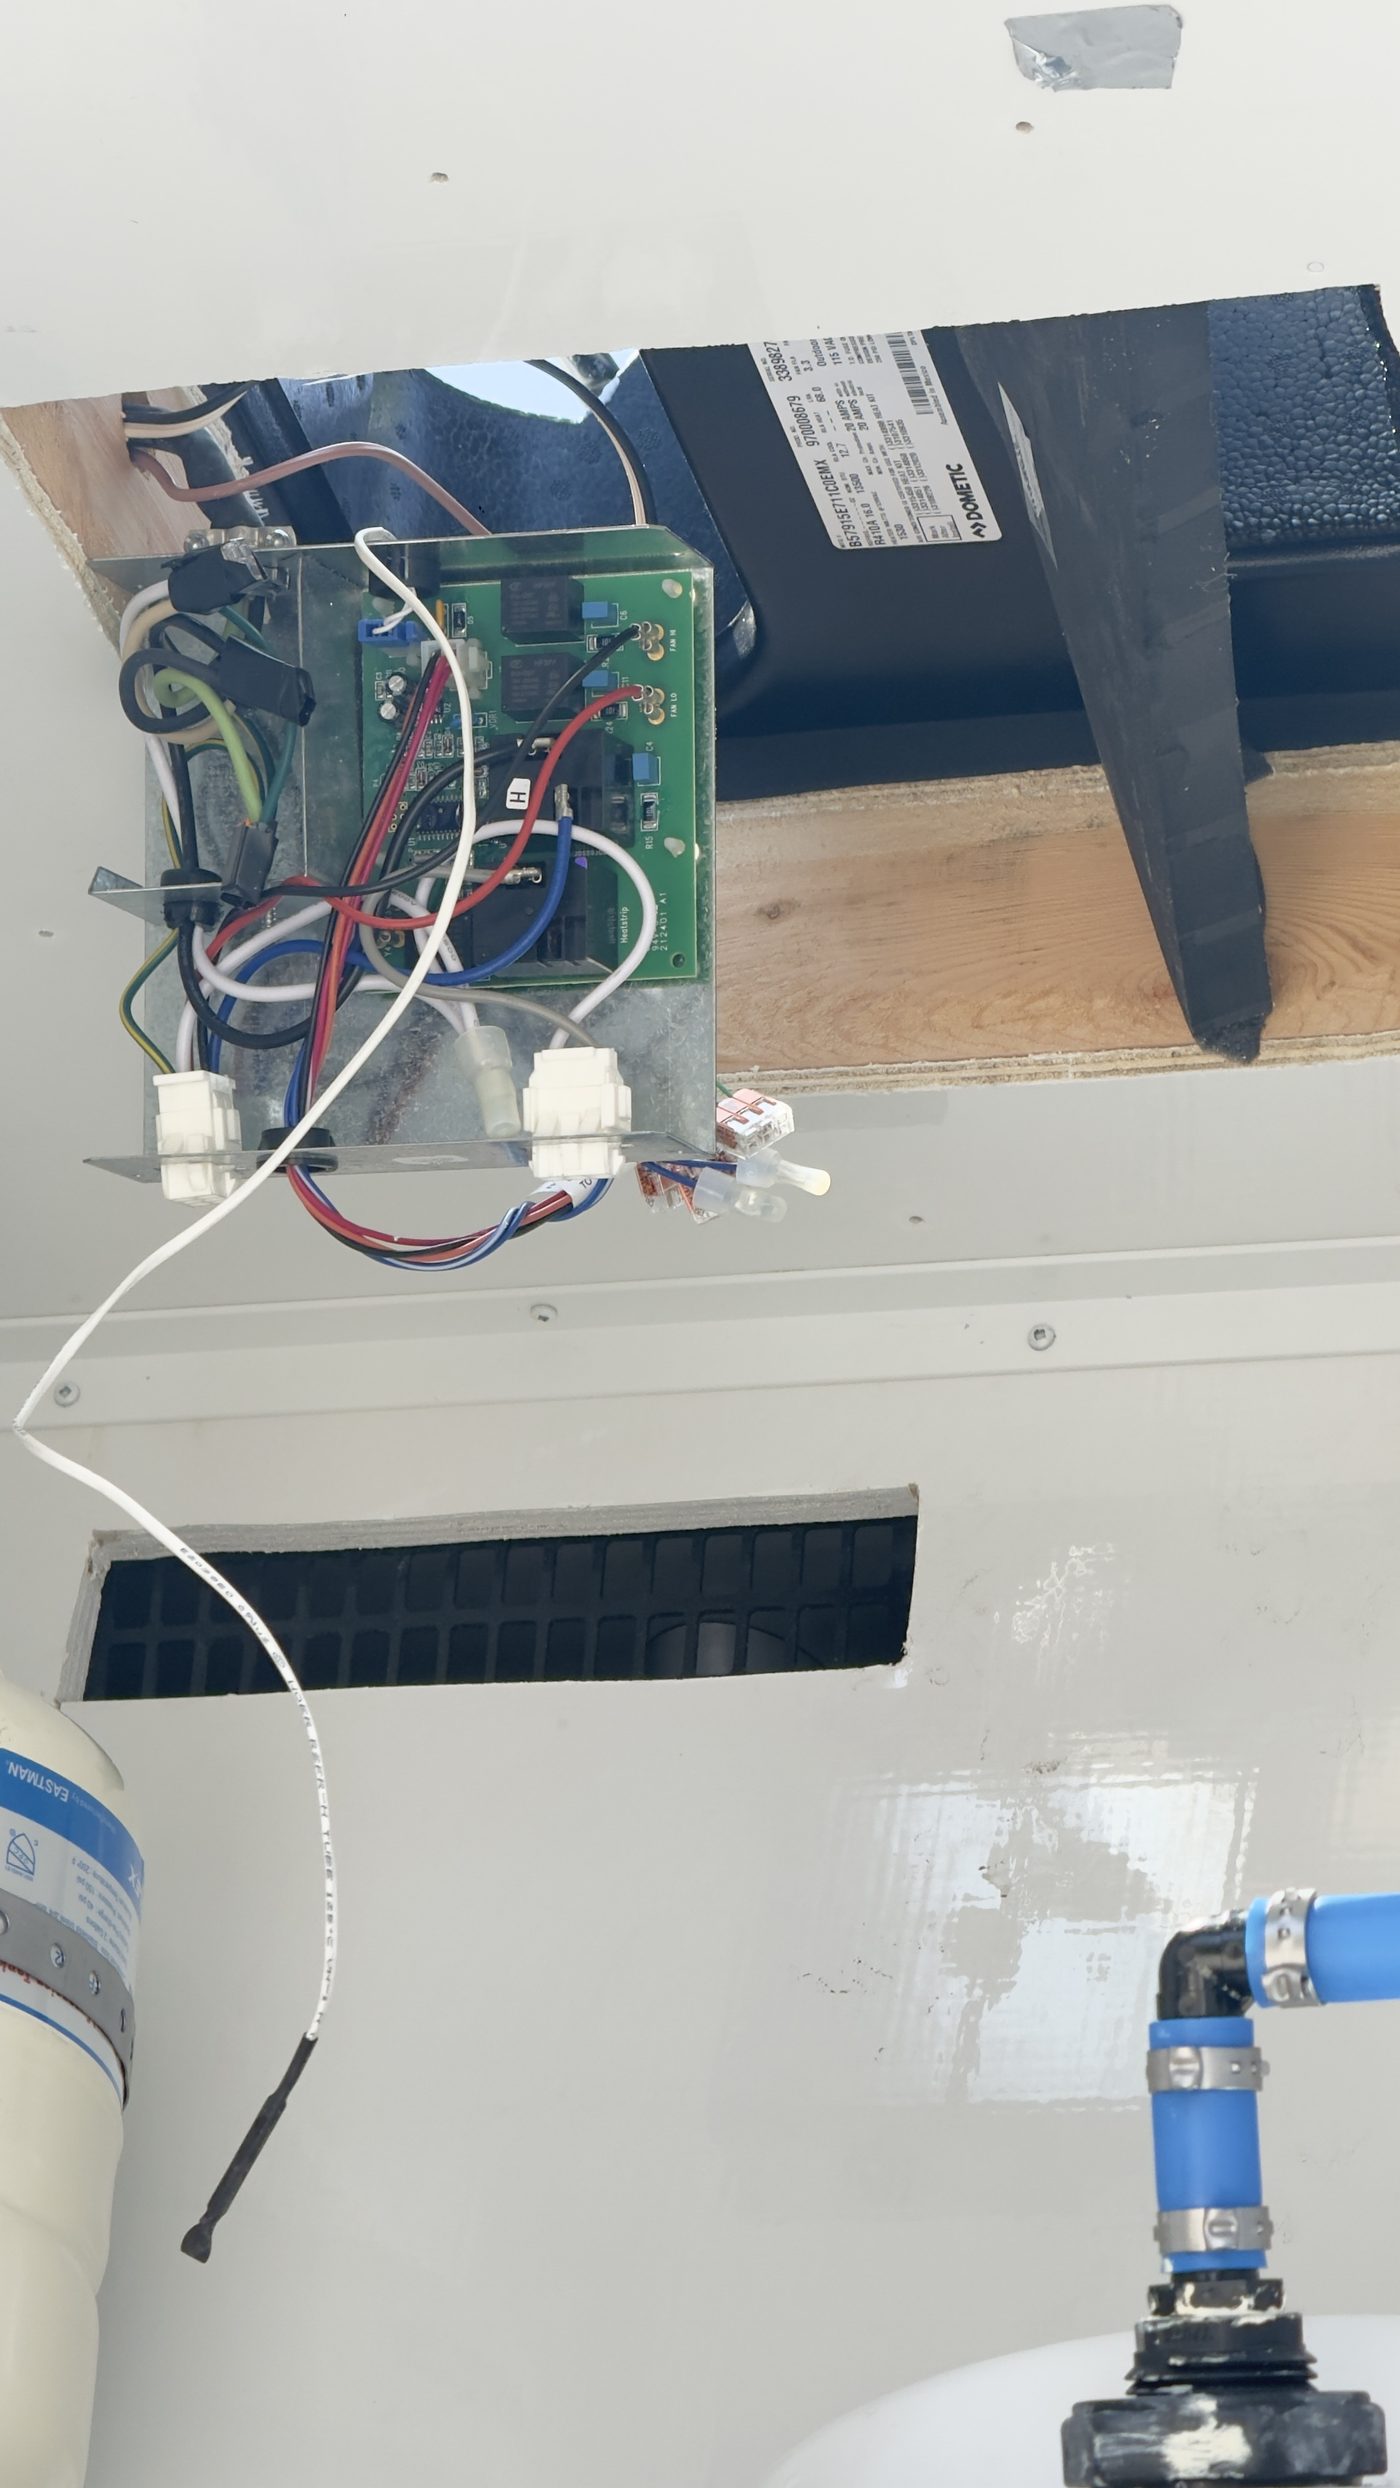
- No power at all: breaker, wiring, or control board
When to Call a Technician
RV air conditioners are sealed systems and most internal repairs require specialized tools and training. If the basics check out and your AC still will not cool, it is time for a professional. A mobile technician can diagnose the unit on your roof and handle recharge, capacitor, fan, or full replacement on-site.